Building a professional-grade trading station doesn’t have to drain your capital. A three-monitor setup is the sweet spot for serious traders, allowing you to monitor charts, news feeds, and your trading platform simultaneously without the clutter of a single screen. This guide will walk you through every step to create an effective 3-monitor trading station on a strict budget, focusing on smart choices for screens and monitors and the essential gear to connect them.
For active traders, screen real estate directly translates to information access and reaction speed. A single monitor forces constant tab-switching, increasing the risk of missing critical movements. With three screens, you can dedicate one to your primary charting software, another to a level II quote window or watchlists, and the third to news, economic calendars, or trade execution. This organized workflow reduces mental fatigue and helps you maintain a clear market view, a crucial edge that is surprisingly affordable to achieve.
Your monitors are the centerpiece. The goal is to maximize value, not necessarily chase the highest specs.

Size and Resolution: Aim for 24-inch monitors. They offer ample space and are the most common size, which keeps prices low. A 1920×1080 (Full HD) resolution is perfect; higher resolutions are expensive and require more graphics power.
Panel Type: Look for IPS (In-Plane Switching) panels. They offer better color accuracy and wider viewing angles than cheaper TN panels, which is important when your monitors are angled.
Refresh Rate: A standard 60Hz refresh rate is sufficient for trading. You don’t need high refresh rates (like 144Hz) meant for gaming.
Bezels: Thin bezels (the frame around the screen) are preferable for a seamless multi-monitor experience. However, slightly thicker bezels on older or refurbished models can mean significant savings.
Pro Budget Tip: Consider buying two new, identical monitors and sourcing a third used or refurbished model of the same size and resolution. The visual mismatch will be minimal, and the savings can be substantial. Always check the inputs (HDMI, DisplayPort) to ensure compatibility.
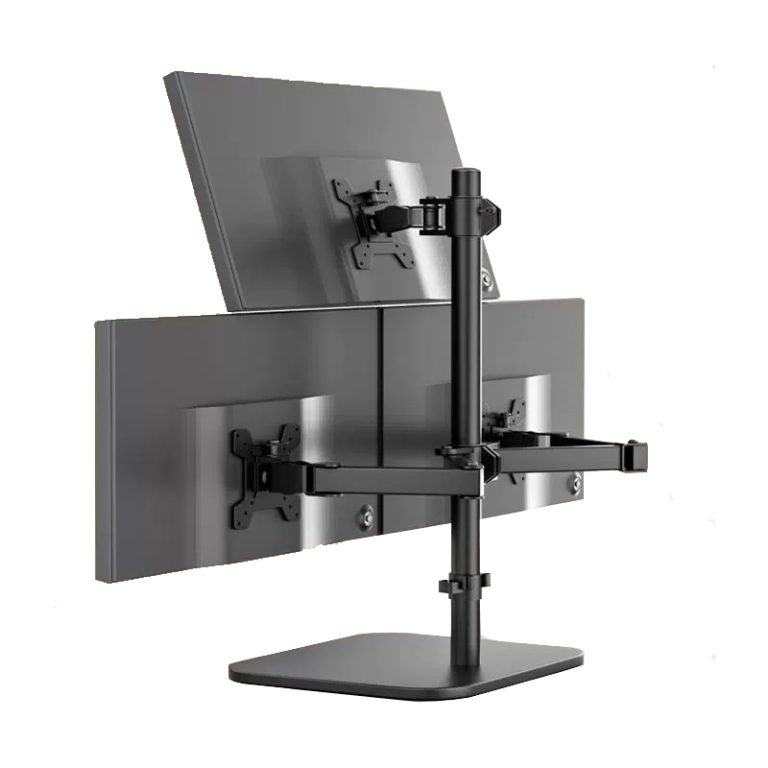
A sturdy mount is non-negotiable. It saves vast desk space and allows for perfect ergonomic alignment.

Mount Type: A single monitor mount that holds all three displays is ideal. Look for a “triple monitor stand” with gas-spring arms. These allow individual adjustment of height, tilt, and rotation. Ensure the mount’s weight capacity supports the total weight of your three monitors.
VESA Compatibility: This is critical. Almost all monitors have a standard VESA mount pattern (like 100x100mm) on the back. Verify your chosen monitors and mount share the same pattern.
Desk Clamp vs. Grommet Mount: A clamp that attaches to the back edge of your desk is usually cheaper and works on most desks. Just ensure your desk has a sturdy lip or frame for it to grip.
Desk Space: Clear your desk surface before mounting. The primary benefit of a stand is freeing up this space for notepads, your phone, or other essentials.
This is where many budget builds stumble. You must ensure your computer can output to three displays.

Graphics Card (GPU) Check: Inspect the ports on the back of your computer. You need three video outputs (e.g., HDMI, DisplayPort, DVI). Most modern graphics cards have this. If you only have two ports, you will need to add a cheap, low-profile GPU to your PC to get the third output, or use a compatible docking station.
Cable Management: Use the cable channels on the monitor mount. Buy cables that are just long enough to reach from the monitor to your PC to avoid tangles. Having the right cables and power on hand is key for a clean setup.
Adapters May Be Necessary: If your monitor has only HDMI but your PC has a spare DisplayPort, you’ll need a DisplayPort-to-HMI adapter. These are inexpensive. For complex scenarios, an active DisplayPort adapter might be needed.
This creates a professional, highly functional station for the cost of a single high-end gaming monitor.
Yes, but for the best experience, try to match the screen size and resolution. Different panels may have slight color variations, but for trading data (charts, numbers), this is usually acceptable on a budget.
Yes, but you’ll need a docking station or a multi-display adapter that supports at least two additional monitors via a single USB-C or Thunderbolt port. Ensure the adapter explicitly supports “extended” desktop mode, not just mirroring.
You can, but it will consume your entire desk depth, prevent consistent alignment, and look cluttered. The mount is a key investment for space efficiency and a professional feel, and budget models are very cost-effective.
Most desk-mounted arms have a swivel function. You can pull the monitors forward toward you for viewing, then push them back toward the wall when not in use. Just measure to ensure the arms have enough clearance when pushed back.
No. Any modern graphics card or integrated CPU graphics that supports three simultaneous outputs is sufficient. You are not rendering complex 3D games; you are displaying static and moving 2D data.
Assembling a powerful 3-monitor trading station on a budget is entirely achievable with careful planning. The strategy revolves around prioritizing value in your screens and monitors, investing in a solid monitor mount for organization, and meticulously checking your connectivity options. By following this guide, you can build a setup that dramatically enhances your market awareness and trading efficiency without requiring a massive upfront investment, putting professional-grade tools within reach as you grow your trading business.